Tile can Bring a New Look to Your Kitchen
Laying tile, with the right tools and tips, can be an easy and affordable way to increase the value and style of a kitchen. Tiled backsplashes are durable, clean up well and often contribute a sense of color, style, or sophistication to the room. Here is a step-by-step guide to laying your own tiling backsplash.
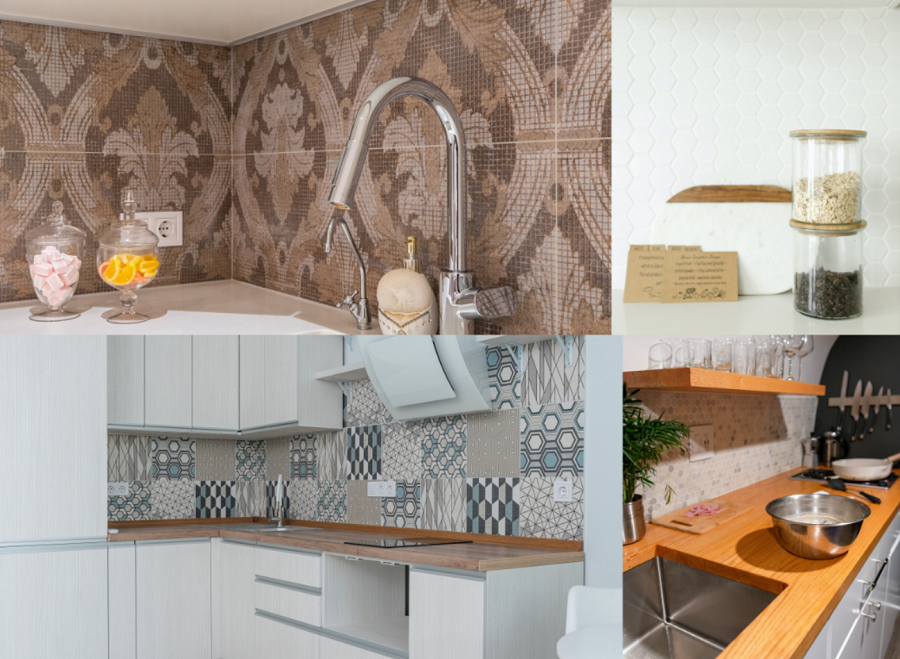
Choose the right tile
For surfaces like backsplashes, glass tile can bring bright or muted colors to the room while offering a bright, reflective surface. Depending on the look, though, you can also use ceramic tile to achieve a more traditional look. You’ll also want to consider the size of the tiles, from tiny ones that come in sheets or large tiles that might cover a square foot or more. Keep in mind the colors in your kitchen and the style as you browse. Make sure you’ve taken accurate measurements of your backsplash area so you know how much tile to purchase.
Prep the work area
In preparation for the tiling, make sure your countertops are covered (paper or plastic dropcloths work well for this) to protect them from the tile cement you’ll be using. Make sure the tile has been accurately measured to the space and any necessary cuts have been made to the tile a head of time. Then ready your tile cement trowel and get to it. You’ll spread this tile cement on thick to the wall, but then “comb” it to a smooth consistency with the spiky end of the trowel. This gives the surface grip for when the tiles are laid. Instead of doing this part in sections, go ahead and put tile cement on one entire contiguous surface at a time. That way, when you start to place a tile, you can continue until you hit a seam.
Apply the tile
Make sure you have the tile on the right side and facing the right direction, and begin placing the tile. Start from one end and use plastic tile spacers if you need them. When using sheets of tile, make sure to place one sheet next to the other with equal spacing, so there are no unsightly gaps. You’ll need to apply some pressure to the tiles for them to set into the cement, but make sure you do this evenly. After you’re all done, let the tile dry overnight and make sure there are no sudden temperature changes in the room, as that can make tile cement dry unevenly.
Get ready to grout
Grout is the substance that fills the seams between tiles in a tiling project, and you usually buy a dry mix and mix it with water. Do this in a bucket, outside if you’re not the neatest worker, and mix well. Then you’re ready to apply. The grout goes on with a rubber “float” – look for one at your local home improvement store – and it can go right over the top of the tiles. Apply even pressure so that the grout sinks down into the cracks between the tile and then scrape back over the tiles to remove extra grout on top of the tiles. Once all the seams are filled evenly, wipe the tiles down with a dense tile sponge, which will remove all the extra grout. Let the grout dry for several hours before getting near it with liquids, steam, or food, and enjoy that new tile backsplash!
Everything You Need to Know about the Different Kitchen Backsplash Designs
| Image sources |
|---|