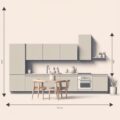
Kitchen usually is the most favored room in the house. It conjures up warmth, and reminds you of secure feelings from days of your past. It’s the place where everyone gathers to talk and bond. Personal history of your life that drives your present and guides your future. This is now your present, and you want to create your own memories in your very personalized kitchen. Recapture those feelings and use them to inspire you when you decide on your color and paint for kitchen cabinets.
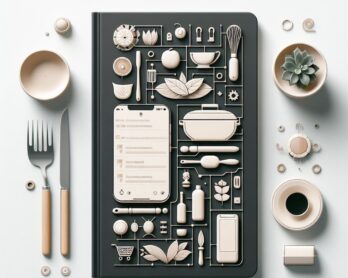
Overview. Ideas and colors
The best paint for endurance, washing splatters, smudges, greasy fingerprints, and overall beauty is semi-gloss. Gloss paint is to shiny and fingerprints will be everywhere. Use a water-based latex paint because it’s one of the best options out there. Oil-based paints that your elders used was once great, but not true anymore. Today’s paints are made to be durable. Latex dries quicker and is much easier to clean. You will not suffer the chips and brittleness of oil-based paints. Also latex does not go yellow over time.
Often reason behind painting your cabinets is money. Painting kitchen cabinets yourself is a quick and low-cost way to update your kitchen. It’s cheaper and less messy than a remodeling. A standard-sized kitchen will use about one to two gallons of paint and can be done in two days. However keep in mind that for better results you’ll need to paint at least two layers, and it might take a week, since the paint must dry between each layer.
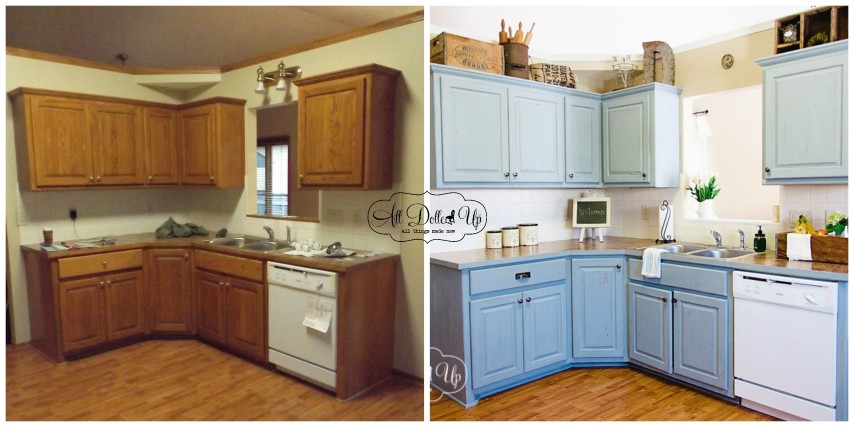
Consider to make some primery work on your cabinets to clean them and scrab from old paint and dirt. Such preparation and attention to details will make sure your kitchen look first class and you will be proud to show it.
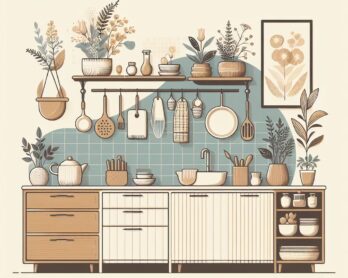
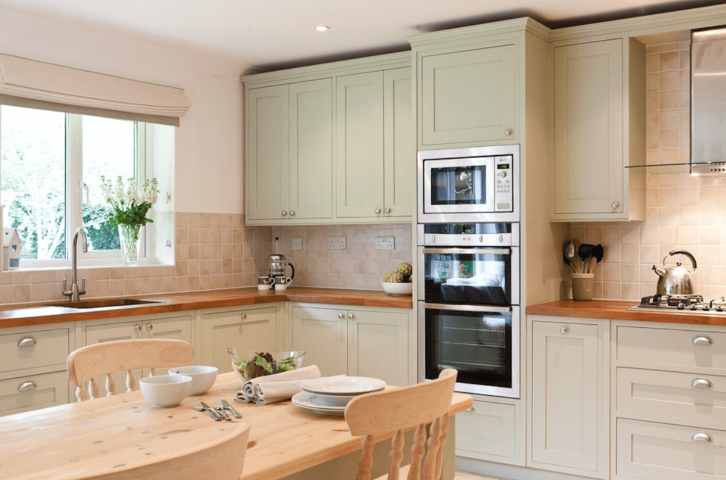
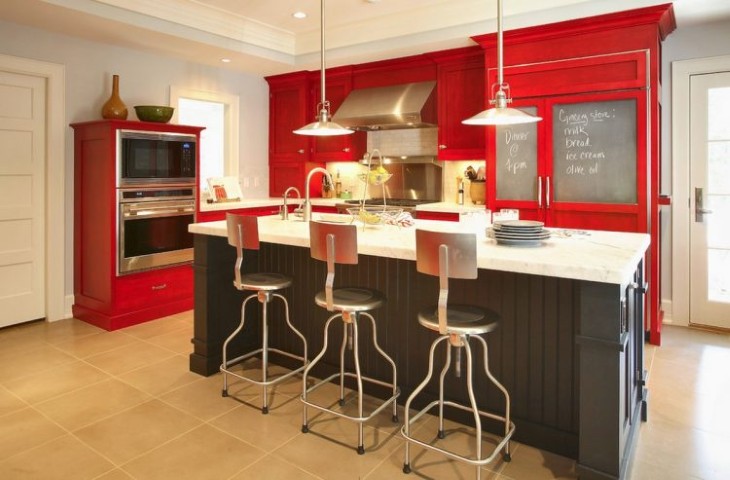
A common painted kitchen cabinet idea is to simply paint your kitchen cabinets white. Homeowners today are doing just that. When you paint kitchen cabinets white, you will have a traditional and attractive clean look. White is a good choice, but there are attractive pastel colors from which to choose such as sage, gray, and beige that seem to make your cabinets glow. Mocha and taupe are great colors too. If you have kids, think about the chalkboard paint on lower cabinets where they can create on their very own artist’s canvas. Another idea is to use one color on the top cabinets and a harmonizing color for the bottom cabinets. Visit your home center and discuss possibilities with the designer who will show you colors, paint brands, and different types as well.
Check list of products
Do not take shortcuts to save money on choosing your paint. You want to have your finished product of quality and durability. Plan on paying $40 to $50 a gallon for the best paint for kitchen cabinets, which provides you with excellent quality paint. That’s only the start. Your cabinets need to be prepped, otherwise your hard work will peel and chip within a few months. Buy:
- Silicon carbide sandpaper in 100, 220, and 280 grit for sanding & polishing cabinets – recommended;
- Primer or undercoat ensures better adhesion of paint to the surface, increases paint durability – recommended;
- New paint brushes in various sizes – recommended;
- Drop cloths or red rosin paper to provide protection from paint—the preferred optional product;
- Blue painter’s tape for masking and limiting painting places – optional, but I would recommend;
- Paint scraper, sanding sponges for hard to get places and corners – optional;
- Rubber gloves – just to be clean, you know;
- Silicone acrylic-latex caulk – optional, to fill gaps in all kinds;
- Liquid deglosser will get into places sandpaper won’t go – optional, but I would recommend to have it while painting.
Don’t forget about screw driver for removing doors and hardware.
Steps
-
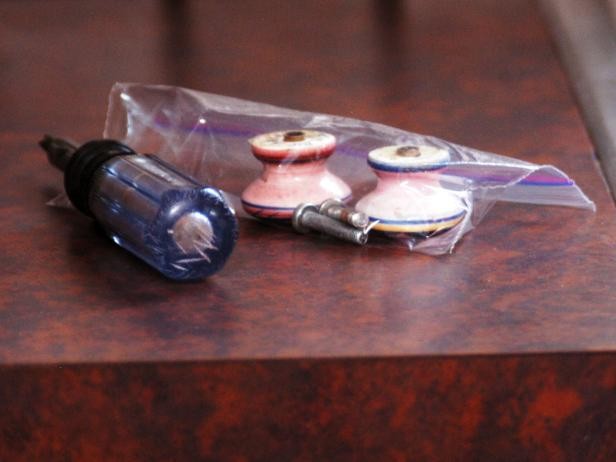
- Remove Doors and Hardware
-
- Clean Surfaces
-
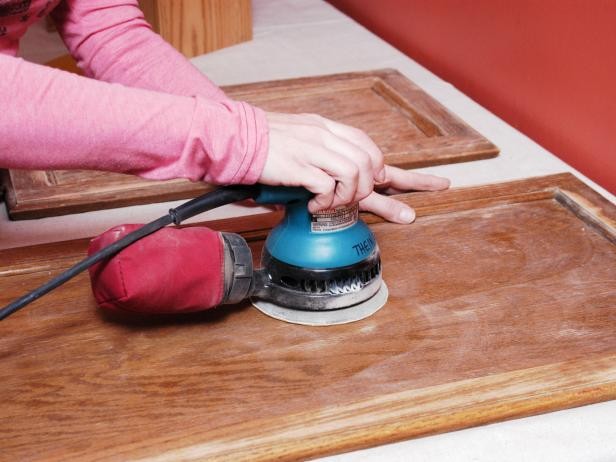
- Sand the doors on all sides and faces
-
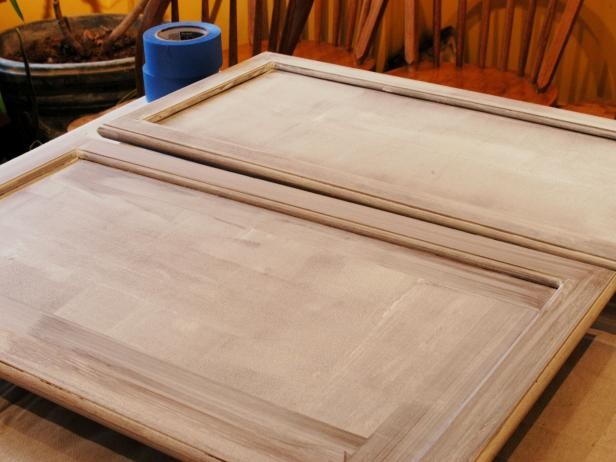
- Apply Primer-Sealer
-
- Apply the Paint
image via diynetwork.com
Preparing and Painting Kitchen Cabinets and Drawers
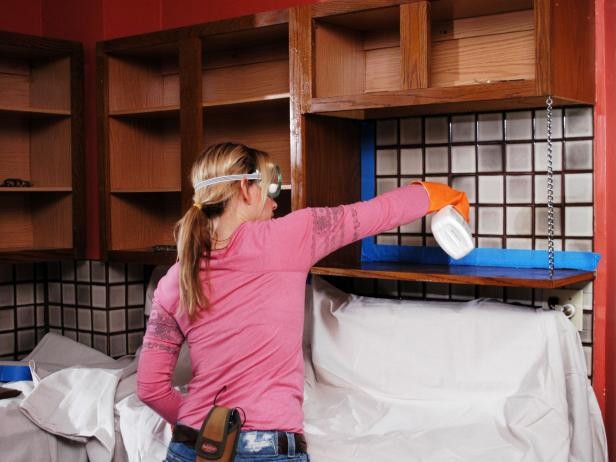
Wash each cabinet inside and out including the door and drawers with a mild grease removing detergent in water. Remove the drawers. Organize, number and store the hardware and hinges separately for each cabinet to match up to the correct cabinet and drawer when you are finished. A small plastic bag will work well. Use a liquid deglosser if your cabinets have existing high-gloss paint on them. If they don’t, use the 100-grit sandpaper vacuuming up sawdust as you go.
You only want to paint the face panel of drawers, not the sliding area or inside. Do not remove the front panel. Remove contents and hardware, marking with numbers for each drawer, and store in a plastic bag.
It’s time to prime. If your wood is dense (tight-grained), such as cherry or maple, then use an oil-based slow drying primer for best results. For a more open-grained wood (pine and hickory), brushing putty is recommended using several coats. When done with primer – paint.
 A final word
Deciding on the paint for your kitchen cabinets isn’t exactly an easy task. It needs thinking, research, and maybe even quite a bit of analysis. What works for others may not always work for you. However, as mentioned above, there are quite a few ideas that usually come in handy while painting almost all type of kitchen cabinets as well as for people with different preferences.
Worth mentioning that the cost too may vary quite a bit depending on your location. Hence, it’s always recommended to do a bit of research before buying from a particular seller, in order to find the best price as well as good quality paint.
I would love to hear your story of painting a kitchen, did you use something out of the list above? Please comment 🙂
-
- image via freshome.com
-
- image via dropinto.com
-
- image via missmustardseedsmilkpaint.com
-
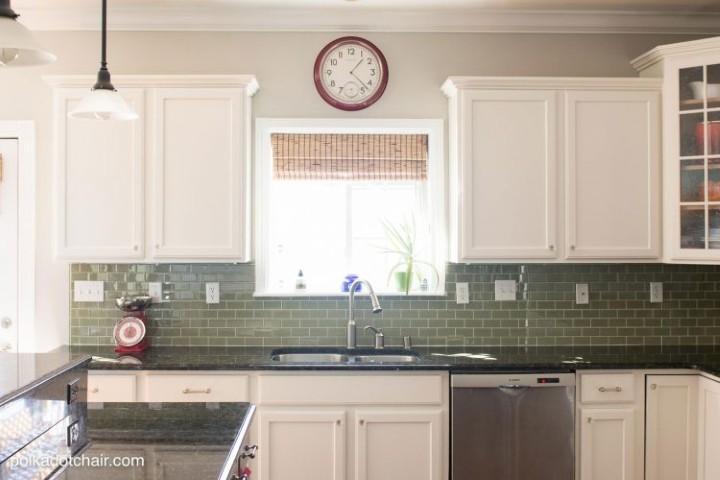
- image via polkadotchair.com
-
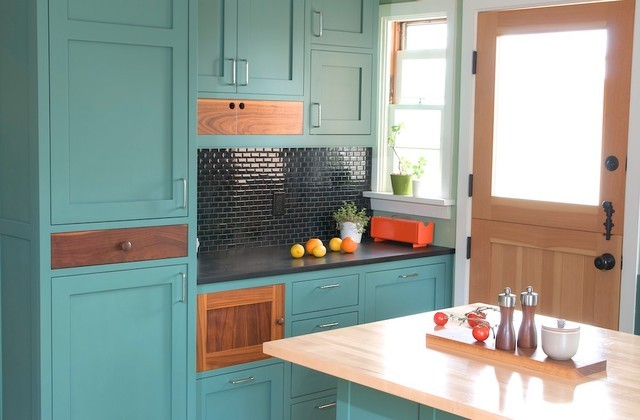
- image via houzz.com
-

- image via sebringsservices.com
-
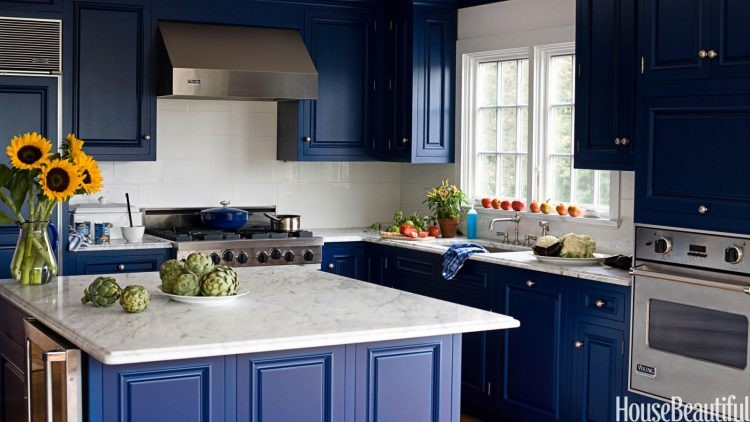
- image via housebeautiful.com
lead image via housely.com