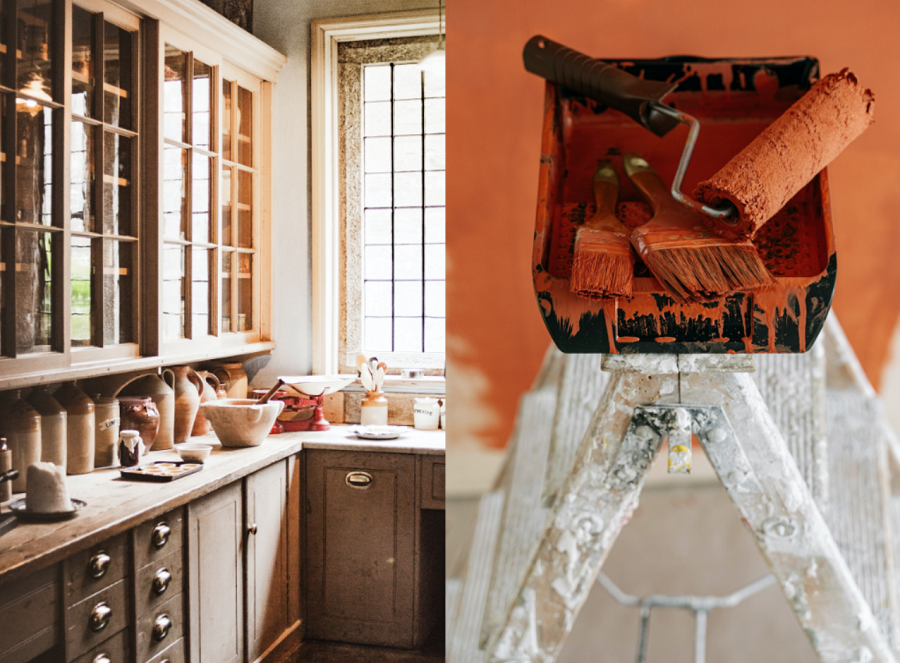
If your kitchen cabinets are starting to get a tired and worn look, consider restoring their health with a paint job. While a complete kitchen cabinet replacement can cost thousands of dollars, the most you will be out on a repaint is $200 to $300 dollars max and in many cases, you will be just as pleased with the results.
Cabinets should be structurally sound to achieve the best results from a paint refinish. If they are in poor structural condition, the paint may not be the best option. In most cases, however, kitchen cabinets are built to last for many years. With proper preparation and planning, it’s the perfect do-it-yourself project.
Planning the Project
The second choice to make when repainting kitchen cabinets is to decide on the type of paint. The first choice, obviously, is selecting the color. The type of paint options falls into two basics, oil or latex.
Oil-based (alkyd-based) paints have long been a mainstay for professional painters. They have historically provided a harder, smoother, more durable finish than their latex (water-based) counterparts. However, acrylic-latex paints of today are the exception. High-quality latex paint provides a durable surface and easy cleanup. Water-based paint is definitely the preferable option for anyone other than a pro.
When using latex paint, select a high-quality, 100-percent, acrylic latex primer. Water-based paints and oil, or semi-oil-based paints do not play well together. A pure acrylic latex compatible primer and acrylic-latex paint make for a good choice.
Kitchen Cabinet Preparation
Preparing the cabinet surfaces for paint is the most important, and time-consuming, part of the repainting project. The more time spent on preparing the surface, the better the finished product will be, and the longer it will last.
Start by removing all the cabinet doors and drawers, and removing them from the kitchen. One note here: mark the doors and drawers with their respective location so as not to run into a fitment problem when reinstalling them. A simple pencil mark on the underside, or inside, the surface of each will do the trick.
Remove the hardware and pulls it from the doors and drawer fronts. To really give the cabinets a good look, install new hardware in its place when putting the cabinets back together.
Use 150 or 180-grit sandpaper to remove as much of the existing coating as possible. If you can take the cabinets down to bare wood, all the better. But, at a minimum, sand the surface to remove all the shine and imperfections. A small electric sander is great for getting into tight places and sanding the surface rather quickly.
Once all the painted surfaces are sanded completely, fill any dents or gouges with non-shrink wood putty. Once the putty dries, sand over the repaired areas with a 120-grit paper.
Clean the Cabinets
Now that the sanding is complete, clean the entire surface with an industrial cleaner called trisodium phosphate (TSP). There are a lot of substitutions on the market, like your favorite department store, but pick up some real TSP at the hardware or paint store. Follow the precautions on the label, and give the cabinets a thorough wipe down.
Rinse the cabinet surfaces with clean water and a clean rag. Allow the surface to dry before applying the primer coat.
5 Signs It’s Time To Upgrade Your Kitchen Cabinets
Priming the Kitchen Cabinets
Use a high-quality synthetic-bristle brush for applying the primer. Rollers, foam brushes, and other “special” applicators just will not provide the best finish like a top-notch paintbrush. When painting kitchen cabinets, don’t skimp on the quality of paint, primer, or brushes. You will be glad you didn’t.
Apply a single coat of primer and cover the cabinet surfaces fully. Allow the primer to dry and then lightly sand it with 120-grit sandpaper. When sanding the primed surface, you should be creating dust, not tiny curls or slivers of primer. If the primer is not generating dust while sanding it, it is not dry enough for sanding.
Sanding the primer will smooth out the finish and remove unseen blemishes from the surface. Once the light sanding is complete, wipe down the surface again with a TSP dampened rag. Follow up with a rinse and allow the surfaces to dry.
Repainting Kitchen Cabinets
Now that the cabinets are sanded, primed, and cleaned, you’re finally ready for paint. For best results, pour a small amount of paint into a smaller container for dipping your brush into. This will help keep the paintbrush neat, and create less mess while applying the paint.
Only load the tip of the brush with paint as much as possible. Too much paint on the brush will cause the excess to drip on the painted surface. If drips go unnoticed, these areas will require re-sanding a painting.
Cover the entire cabinet surface, including the door and drawer fronts, with the first coat before starting the second paint coat. Two coats of paint should be plenty. Allow everything to dry for a whole day before attempting to reassemble. Latex paint takes longer to cure during cooler or humid days. Make sure the surface is dry before handling the doors and cabinet fronts.
You’ve successfully completed your own kitchen cabinet repainting job.
| Image sources |
|---|