Not sure where to begin cleaning your kitchen? Read through our kitchen cleaning guide to get a better idea of how to give your kitchen the thorough cleaning it deserves.
- Clear the Counters
Clearing the kitchen counters is the first step. Remove anything that doesn’t belong there, such as cookbooks and letters.
- Fill the Sink
Fill your sink with some hot water and dish soap. Put items that need a good soak in the sink now, such as dish racks, microwave turntables, and crisper drawers.
- Empty the Refrigerator
Remove any spoiled food from the refrigerator. Take any food storage containers and put them in the sink with everything else to soak, ready to use again. Wipe the fridge and shelves from top to bottom using a paper towel or a cleaner-soaked rag.
- Dust High Zones
Knock the dust down from high places onto the floor, ready to be swept away later. Use a telescopic duster to work your way from above the sink, working around the kitchen. Clean the light fixtures, upper corners of the room, and the tops of any kitchen cabinets. Don’t forget to wipe down the top of the refrigerator while you’re at it. The job is done when you work your way around back to the sink.
- Clean Upper Cabinets
It’s time to clean the cabinets, and anything else mounted to the wall, such as mounted microwaves. Spray the interior with an all-purpose cleaner and let it sit for a few minutes. Use a damp all-purpose cloth to wipe down the exterior of the microwave, or use a cloth moistened with diluted white vinegar for stainless steel. Wipe the doors and pulls of cabinets and frames. Once again, work your way around the room. Wipe the backsplash with a damp soapy cloth if needed.
- Go Back to the Microwave
It’s likely been over two minutes now, so it’s time to wipe down the microwave. Clean the solution off the inside of the microwave with a dry cloth. Don’t worry if crumbs fall to the floor or stove as you wipe.
- Spray The Stovetop
Use some all-purpose cleaner to spritz the stovetop and leave it for a few minutes. Add some powdered scrub to get rid of stubborn stains that refuse to move.
- Prepare the Dishwasher
Put items from the sink in the dishwasher, or hand wash them if you don’t have one. Don’t drain your sink just yet, however, as we’ll need that water in a minute.
- Wipe Down the Stovetop
The stovetop should be ready for wiping. Just a clean, dry cloth and let crumbs fall where they may. It’s more efficient to leave them to the end. Swap your cloth to prevent the grime from spreading to other surfaces when cleaning.
- Clean Kitchen Appliances
Now is the time to clean the coffee maker, stand mixer, toaster, and other small appliances in your kitchen. Use a multi surface cleaner or glass cleaner. Cleaning wipes can also help in a pinch: dip crumb catchers and drip trays in the water left in the sink. Rinse and dry trays and catchers before replacing them.
- Scrub Countertops
Use small, circular motions to scrub your countertop.
- Tackle Big Appliances
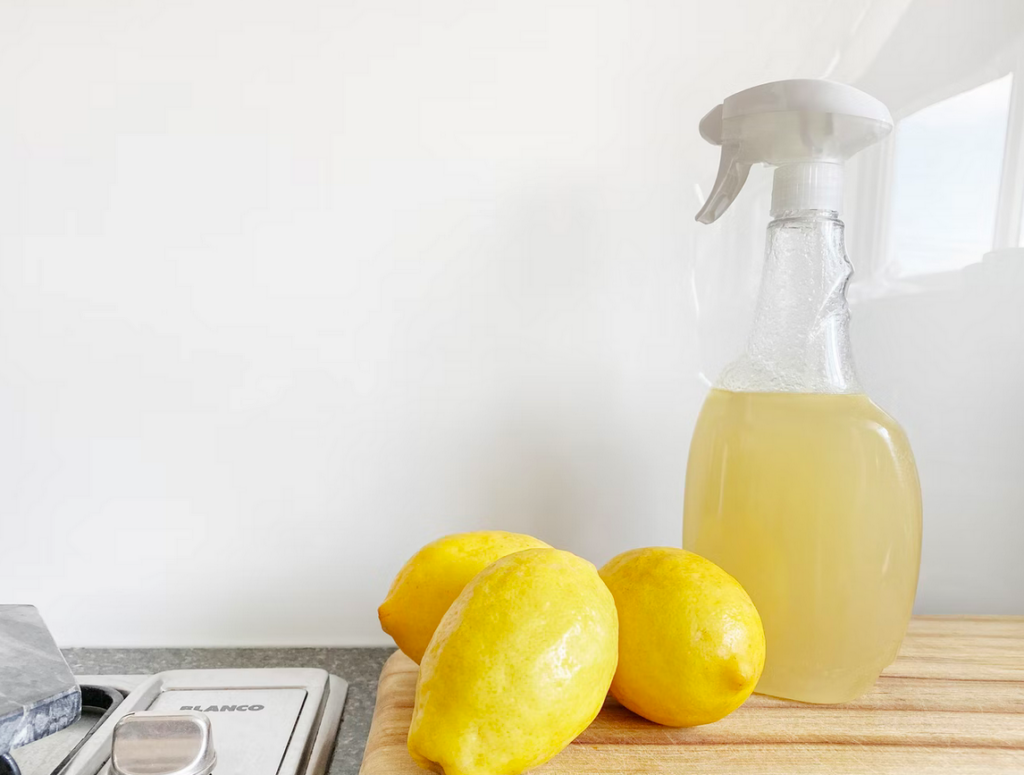
Clean fridge doors, oven doors, and dishwasher doors using a cloth dipped in warm, clean, sudsy water. Pay careful attention to the handles and edges of doors. Use a cloth-wrapped spatula or toothbrush to clean tight spots, such as seals and folds in appliances. Clean the dishwasher door’s side using an all-purpose cleaner or a cloth dipped in a combination of white vinegar and hot soapy water. You can also use the vinegar mixture to clean the stove and countertops, as long as they aren’t made from porous stone such as marble or granite.
- Clear Lower Cabinets
Use a damp and soapy cloth to clean the lower cabinets.
- Drain the Sink
We’re finished with the water in the sink. Drain it out and rinse the sink with hot water. Use a microfiber cloth and mildly abrasive cleaner to buff the sink basin. Rinse the clean basis with hot water and wipe down handles and faucets to finish the job.
- Empty the Trash
Don’t forget to wipe down the interior of the can with a cleaning wipe before putting a new bag in.
- Sweep the Kitchen Floor
It’s time to clear up the floor. Use an electrostatic dry duster to sweep the floor. Get as close to the baseboards and under the cabinets as you can. These are the trouble spots where crumbs congregate. Don’t be afraid to move appliances to reach the walls for a deeper clean. Use a mop or steam cleaner to add the finishing touches. Start cleaning from the corner furthest from the door and use a bucket. It would be best if you didn’t use a mop with the sink as it can contaminate things you’ll eventually put in your mouth. Please dispose of the dirty water by pouring it down the toilet or out in the backyard.
- Have a Sit Down
You’ve finished cleaning your kitchen and have more than earned a rest!